Before You Begin
Let’s make sure you have everything needed to get started:1
Create Your Valyent Account
Sign up for an account at the Valyent Console if you haven’t already.
2
Create Your Application
Set up your application in the Valyent Console. This is where your deployments will live.
Setting Up GitHub Secrets
Let’s configure the secrets your workflow will need:1
Navigate to Repository Settings
- Open your GitHub repository
- Click “Settings” in the top navigation
- Select “Secrets and variables” from the sidebar
- Choose “Actions”
2
Add Required Secrets
Create the following secrets by clicking “New repository secret” for each one: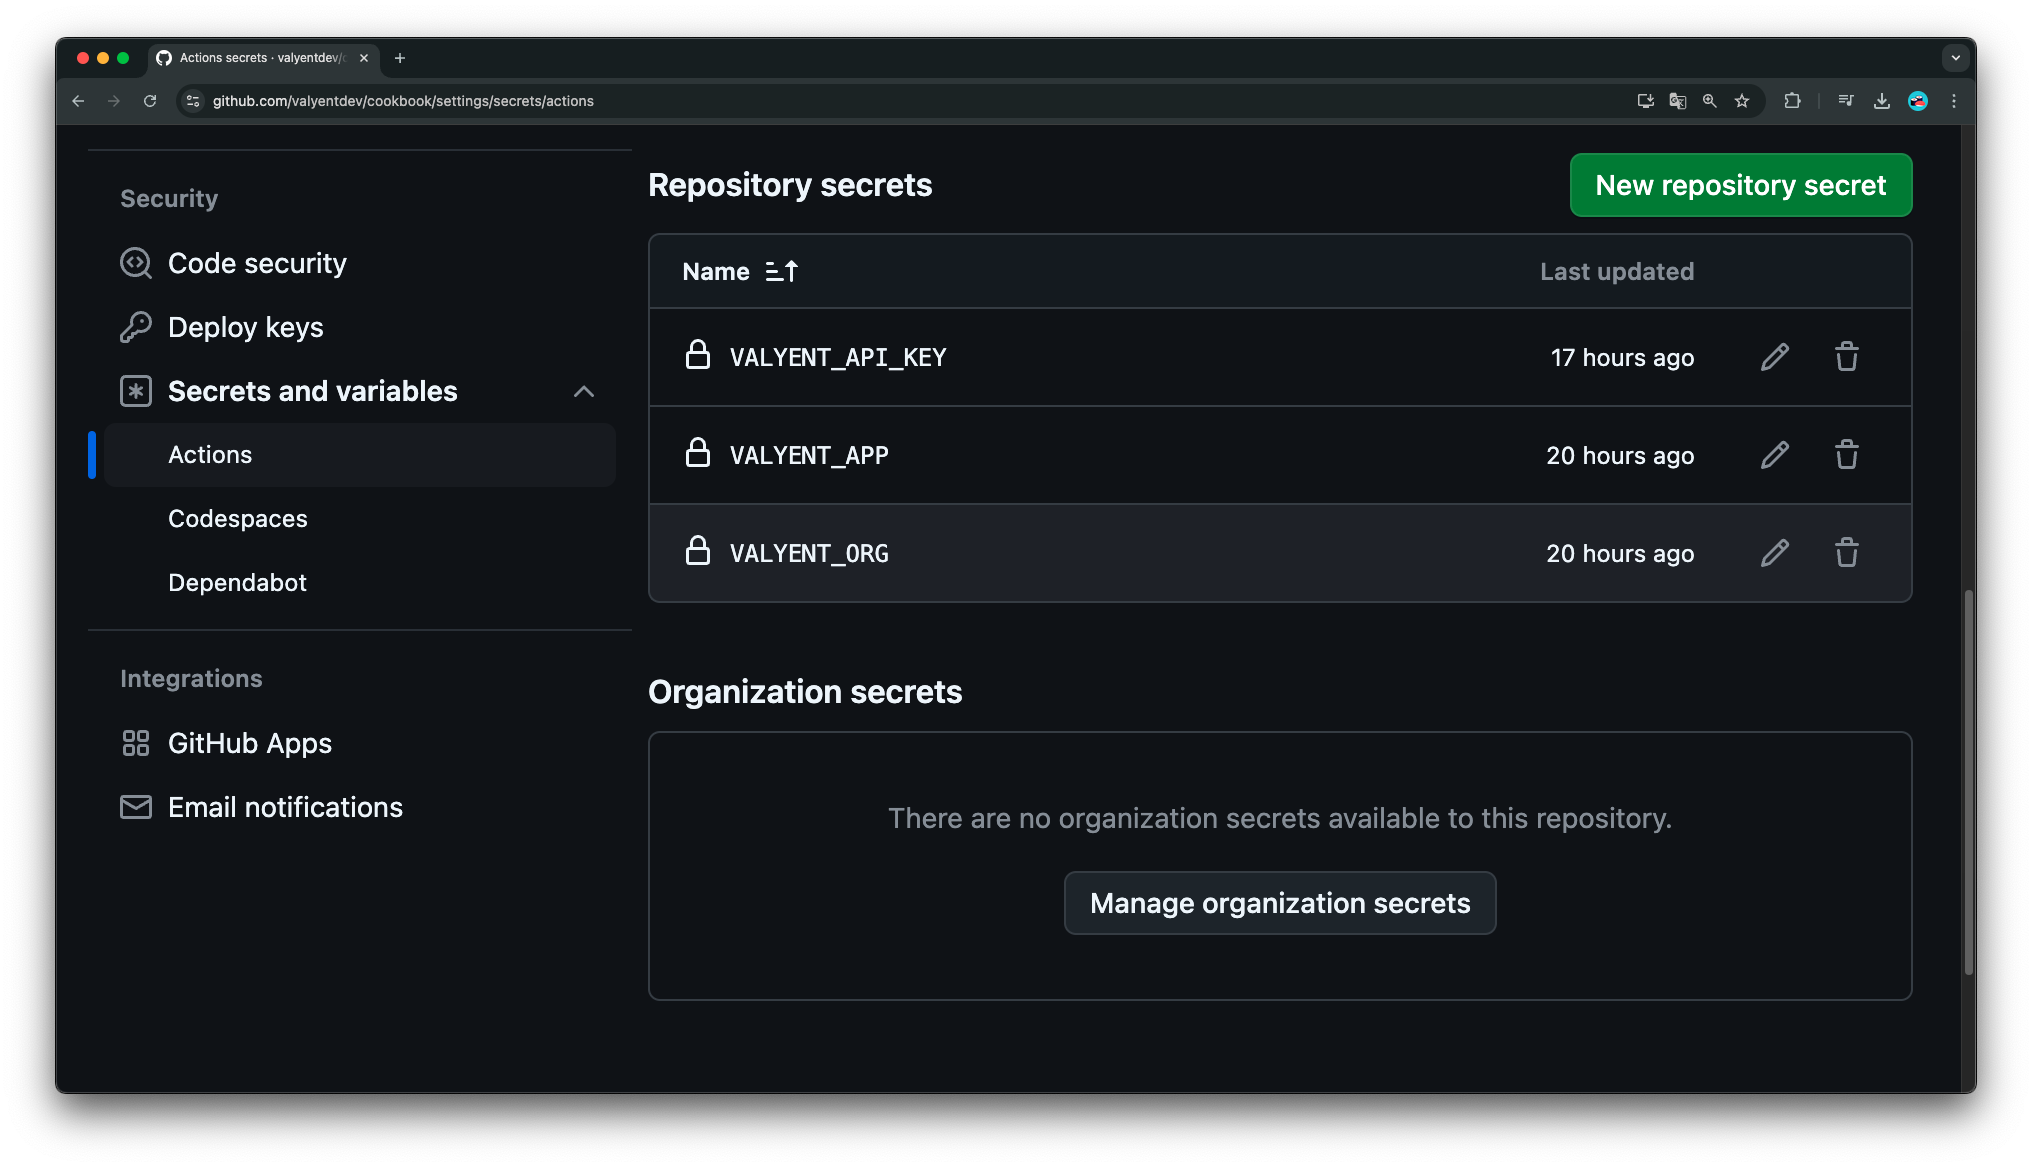
Your repository settings should look like this now.
Creating Your Workflow
Now, let’s set up the GitHub Actions workflow that will handle your deployments:1
Create Workflow File
Create a new file at
.github/workflows/build-and-deploy.yml in your repository.2
Add Workflow Configuration
Copy the following workflow configuration into your new file:
Complete Workflow Configuration
Complete Workflow Configuration
3
Understanding the Workflow
Here’s what each step in your workflow does:
- Code Checkout: Grabs your latest code
- Registry Login: Connects to Valyent’s Docker registry
- Metadata Setup: Prepares Docker image information
- Build & Push: Creates and uploads your Docker image
- CLI Setup: Installs Valyent’s command-line tool
- Authentication: Logs in to Valyent
- Deployment: Launches your application
Testing Your Deployment
Let’s verify everything works:1
Trigger a Deployment
- Make a small change to your repository
- Commit and push to your default branch
- Open your repository’s “Actions” tab
2
Monitor Progress
Watch the workflow run and check each step’s output for any issues.
3
Verify Deployment
Once complete, check your Valyent Console to see your deployed application.
Troubleshooting Guide
If you run into problems, here’s how to fix common issues:Common Issues and Solutions
Common Issues and Solutions
-
Workflow Fails at Registry Login
- Double-check your
VALYENT_API_KEYsecret - Ensure your API key has registry access permissions
- Double-check your
-
Build Step Fails
- Verify your Dockerfile is in the repository root
- Check if your Docker build context is correct
-
Deployment Step Fails
- Confirm your organization and application names match exactly
- Review CLI authentication settings
Next Steps
Now that your automated deployment is set up, consider:- Adding environment-specific configurations
- Setting up branch-based deployments
- Implementing deployment notifications
- Adding test stages to your workflow